Oil Sampling Mistakes That Make Your Lab Results Worthless
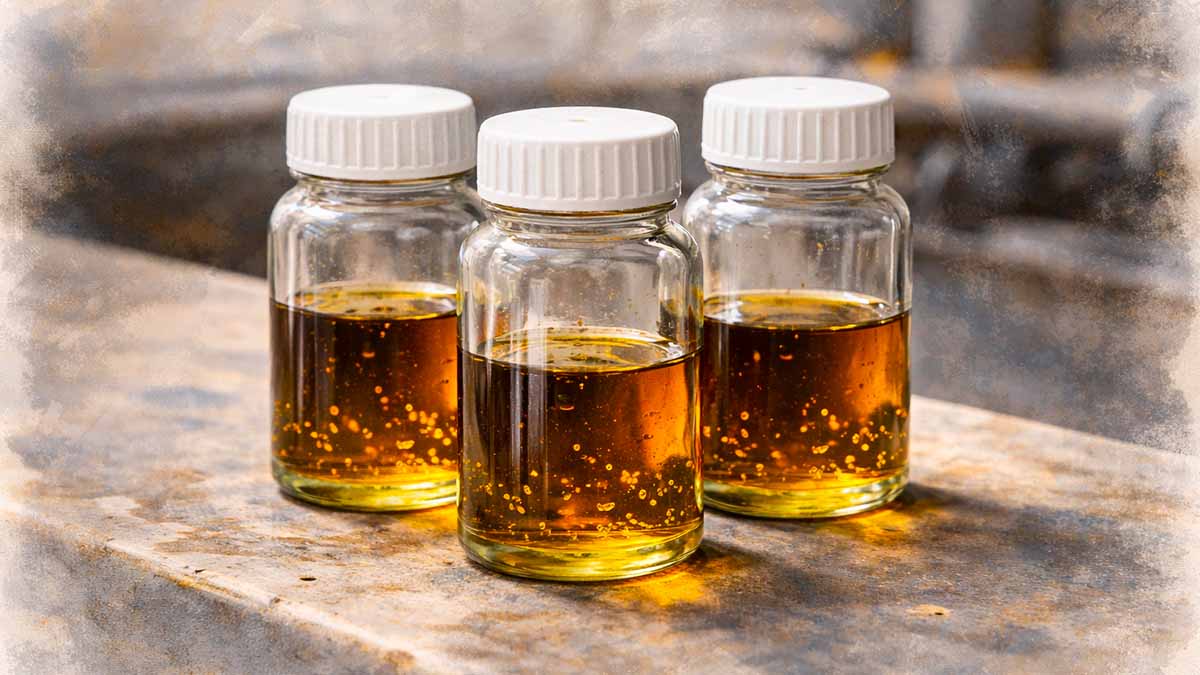
Oil analysis is one of the most powerful condition monitoring tools available to maintenance teams. It can detect wear metals, contamination, additive depletion, and viscosity shifts long before a failure becomes catastrophic. When done right, it’s an early warning system that pays for itself many times over.
The problem is that most plants aren’t doing it right. Not because the lab is bad or the tests are wrong, but because the sample that arrives at the lab doesn’t represent what’s actually happening inside the machine. The failure occurs at the point of collection, and it happens far more often than anyone wants to admit.
If your oil analysis program isn’t delivering actionable results, the odds are good that the issue is upstream of the lab. Here are the sampling mistakes that quietly destroy the value of every report you receive.
Oil Sampling From the Drain Port
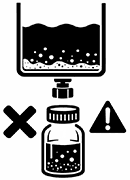
This is the single most common mistake in oil sampling, and it’s the one that does the most damage to data quality.
Drain ports sit at the lowest point of a reservoir or sump. That’s exactly where settled contaminants, water, and heavy wear debris accumulate. When you pull a sample from the drain, you’re not capturing the oil that’s circulating through the system. You’re capturing the sediment layer at the bottom. The result is a sample that exaggerates contamination levels and skews particle counts, making clean oil look dirty and triggering unnecessary maintenance actions.
Samples should be taken from a live, turbulent zone in the system - ideally from a dedicated sample valve installed on a return line upstream of the filter and downstream of the component you’re trying to monitor. The goal is to capture oil that represents what the machine is actually seeing during operation. Drain ports fail that test every time.
If the oil isn’t representative of operating conditions, the data isn’t representative of reality.
If your equipment doesn’t have dedicated sample ports, install them. A minimess valve and a length of tubing cost less than a single lab report. Without proper sample points, you’re paying for analysis on oil that has nothing useful to tell you.
Oil Sampling With the Machine Off
This one seems harmless, and it’s incredibly common. The tech walks up to the machine at the start of the shift, before the equipment has been running, and pulls a sample from a system that’s been sitting idle for hours.
When oil sits static, particles settle, water separates, and the fluid stratifies. A sample taken from a cold, dormant system doesn’t reflect operating conditions. It reflects gravity. You’ll get artificially low particle counts in some areas, artificially high readings in others, and none of it tells you what the oil looks like when it’s actually doing its job.
Best practice is to sample while the equipment is running at normal operating temperature and has been running for at least 20 to 30 minutes. If the machine can’t be sampled while running for safety reasons, sample as soon as possible after shutdown - within minutes, not hours.
Dirty Bottles, Dirty Data
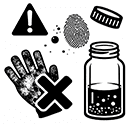
Sample bottle cleanliness is one of those details that sounds trivial until you realize how sensitive modern lab instruments are. Particle counters can detect contamination levels as low as 4 microns. A single speck of dust, a fingerprint on the inside of the bottle cap, or a bottle that’s been sitting open on a shelf in the maintenance shop can introduce enough foreign material to completely distort the results.
Always use new, factory-sealed sample bottles. Never reuse bottles. Never pre-open bottles and leave them sitting around. Keep them sealed until the exact moment you’re ready to fill them, and cap them immediately after. If the bottle comes into contact with anything other than the oil stream - the floor, a dirty glove, the side of the machine - discard it and start over.
Sampling cleanliness sets the ceiling on data quality.
This isn’t perfectionism. This is the minimum standard for producing a sample that the lab can actually trust. Everything downstream of collection depends on this step being done cleanly.
Inconsistent Oil Sample Points
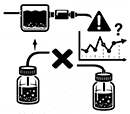
Trending is the backbone of oil analysis. A single report in isolation tells you very little. The real value comes from comparing results over time to identify patterns: rising wear metals, increasing moisture, declining viscosity. But trending only works if every sample in the series comes from the same location on the same machine under the same conditions.
If one tech pulls from the return line and the next pulls from the drain, the trend is meaningless. If one sample is taken at operating temperature and the next is taken cold, the comparison falls apart. If the sample point shifts from upstream of the filter to downstream, you’ll see a dramatic drop in particle counts that has nothing to do with machine condition and everything to do with the filter doing its job.
Document every sample point. Label the valve or port physically on the machine. Include the sample location, machine operating state, and any relevant conditions on the sample submission form. Make it impossible for the next person to pull from the wrong spot.
Oil Flushing Failures
Before pulling a sample from any valve or port, you need to flush the dead volume. The oil sitting in the sample valve, the tubing, and the fitting between the system and the collection point is stagnant. It’s been sitting in a small-diameter space exposed to temperature swings and potential external contamination. If that’s the first oil that goes into your bottle, it’s not a sample of system oil. It’s a sample of whatever has been sitting in the plumbing.
If you don’t flush the dead volume first, you’re sampling the plumbing - not the machine.
The standard practice is to flush a minimum of five to ten times the dead volume of the sample hardware before collecting. For a typical minimess valve and short length of tubing, that’s usually a few ounces of oil. Flush it into a waste container, then collect the sample. It takes 30 extra seconds, and it’s the difference between a usable result and noise.
Skipping the flush is one of those shortcuts that doesn’t look like a shortcut. The tech still pulls a sample, fills out the form, and sends it to the lab. The report comes back with numbers. Nobody questions them. But the numbers are wrong, and any decision made from them is built on a bad foundation.
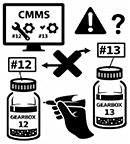
Mislabeled Oil Samples
This one isn’t a sampling technique error. It’s an administrative error. And it happens constantly.
A sample pulled from Gearbox 12 gets labeled as Gearbox 13. A hydraulic unit gets logged under the wrong asset number. The machine ID on the bottle doesn’t match the ID in the CMMS. The lab runs the analysis, generates a perfectly accurate report, and attaches it to the wrong equipment history. Now you’ve got phantom trends, unexplained anomalies, and a reliability engineer chasing a problem that doesn’t exist on an asset that’s actually fine.
Use pre-printed labels tied to your CMMS asset numbers. If your lab offers barcode or QR-coded sample submission, use it. Eliminate handwritten labels wherever possible. One transposed digit can invalidate months of trending data and trigger unnecessary work orders.
The Lab Can’t Fix What You Break in the Field
There’s a persistent belief in some maintenance organizations that the lab is the quality control checkpoint. If the sample is bad, the lab will catch it. That’s not how it works. The lab analyzes what you send them. If you send them a contaminated, mislabeled sample pulled from a drain port on a cold machine, they’ll analyze it with precision and send you back a beautifully formatted report full of meaningless data.
The quality of your oil analysis program is determined in the field, not in the lab. It’s determined by the tech holding the sample bottle, the procedures they follow, and the training they’ve received. If you’re spending thousands of dollars a year on lab fees and not investing in sampling training, you’re paying for answers you can’t trust.
Fix the sample. The lab will take care of the rest.
Frequently Asked Questions
What are the most common oil sampling mistakes?
The most common oil sampling mistakes include sampling from the wrong location (such as drain ports or stagnant lines instead of turbulent, representative flow zones), using dirty or contaminated sample bottles, sampling when equipment is cold or has been sitting idle (oil must be at operating temperature and circulating), inconsistent sampling procedures between technicians, mislabeling samples or mixing up equipment IDs, and failing to purge the sample line before collecting. Each of these introduces errors that can produce false alarms, mask real problems, or make trending data unreliable.
Where should oil samples be taken from industrial equipment?
Oil samples should be taken from a live, turbulent zone in the oil system — ideally a dedicated sample valve installed in a return line or pressure line where oil is actively flowing during normal operation. Avoid sampling from drain ports (which collect settled contaminants and give unrepresentative results), the top of reservoirs (which miss heavier wear particles), or any stagnant line or dead leg. The sample point should be upstream of filters so that contaminants and wear particles are captured before being filtered out. Install permanent sample valves with minimess or push-button fittings for consistency.
Why do oil analysis results vary between samples on the same equipment?
Variability typically comes from inconsistent sampling practices rather than actual changes in equipment condition. If different technicians sample from different locations, at different temperatures, or using different techniques, the results will vary even if the oil condition hasn't changed. Other causes include inadequate purging of the sample line (capturing stale oil from the line rather than representative system oil), contamination introduced during sampling (dirty bottles, funnel, or hands), and sampling at different operating conditions (load, temperature, runtime). Standardizing the sampling procedure, training all samplers, and using dedicated sample points eliminates most variability.
How do oil sampling errors affect predictive maintenance programs?
Bad samples produce bad data, and bad data produces bad decisions. A contaminated sample can trigger a false alarm — leading to unnecessary oil changes, unnecessary equipment shutdowns, or wasted investigation time. Conversely, a poorly collected sample can miss actual contamination or wear, giving a false clean reading while equipment degrades undetected. Over time, inconsistent sampling makes trending unreliable — you can't distinguish real condition changes from sampling noise. This erodes confidence in the oil analysis program and can cause maintenance teams to ignore results entirely, defeating the purpose of the program.